


Table of contents
- How do you create Nested Routes using react-router-dom configuration ?
- createHashRouter, createMemoryRouter from React Router DOM
- What is the order of life cycle method calls in Class Based Components ?
- Why do we use componentDidMount?
- Why do we use componentDidUpdate?
- Why do we use componentWillUnmount?
- Why do we use super(props) in constructor?
- Why can't we have the callback function of useEffect async?
In this blog, we will be diving deep into class based components and understand life cycle methods. This will help us appreciate React's functional components even more.
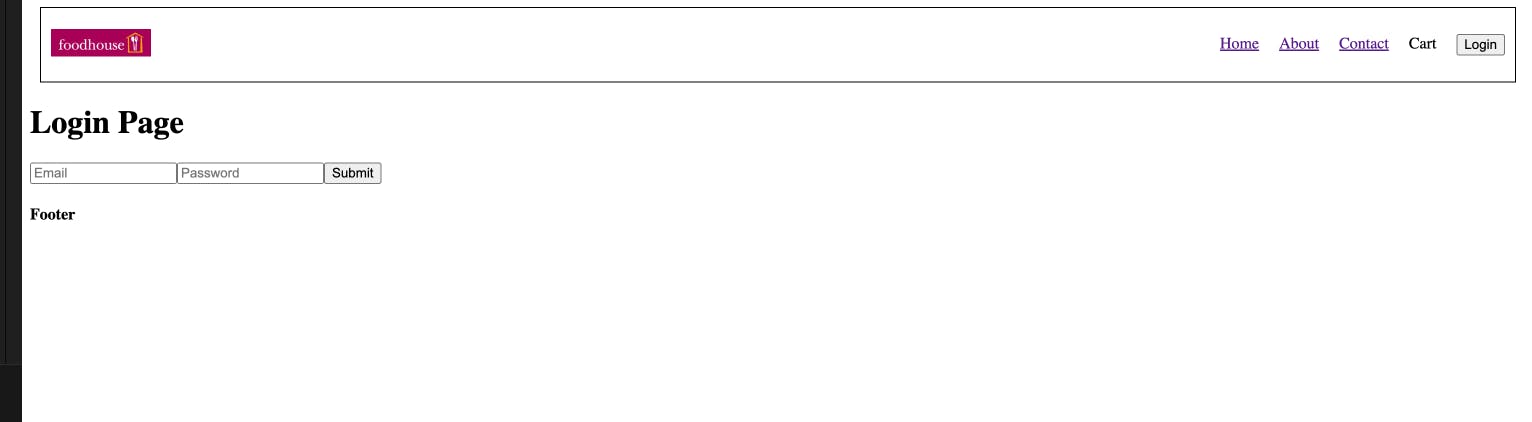
But, before doing all that let's first quickly build a simple login page using formik library. There will be a form with simple email and password fields and a submit button! For now, we will only validate the fields and not check if the email-password combo entered is correct because we are not having any persistance of user related data.
// App.js
const AppLayout = () => {
  const [isLoggedin, setIsLoggedin] = useState(false);

  return (
    <React.Fragment>
      <Header isLoggedin={isLoggedin} setIsLoggedin={setIsLoggedin} />
      <Outlet context={[setIsLoggedin]} />
      <Footer />
    </React.Fragment>
  );
};
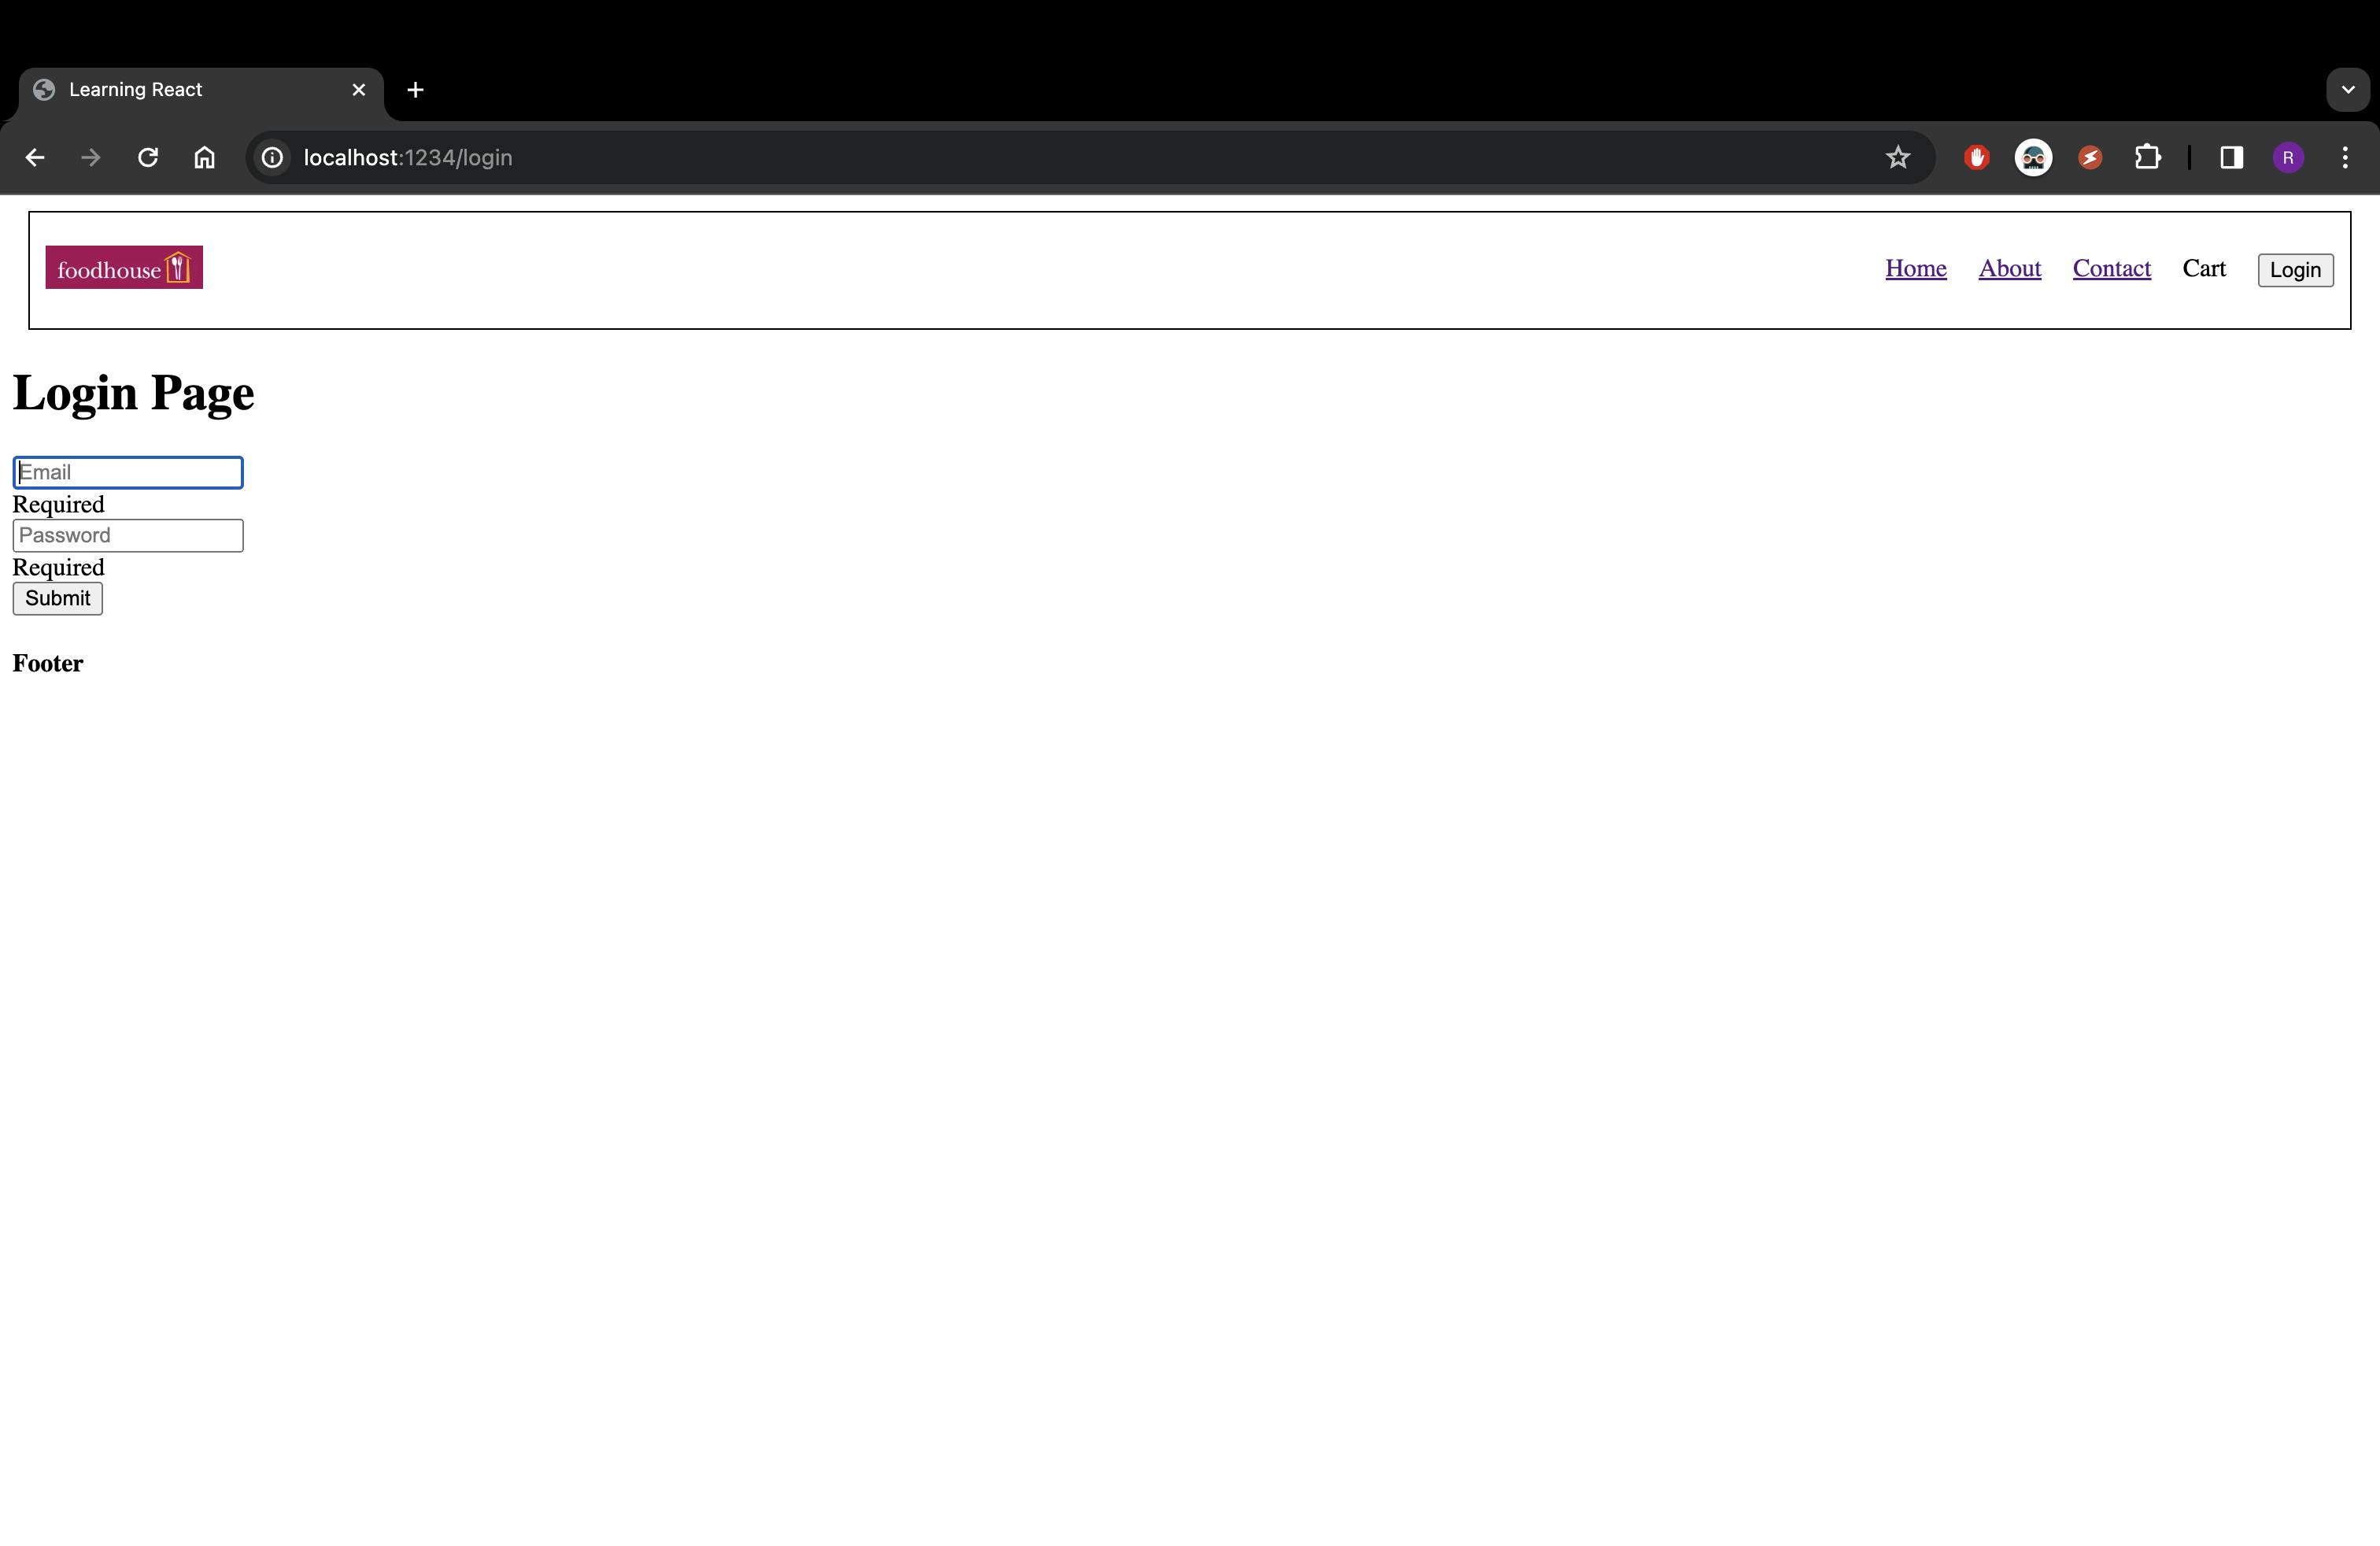
We have put some validation into our fields as shown below:
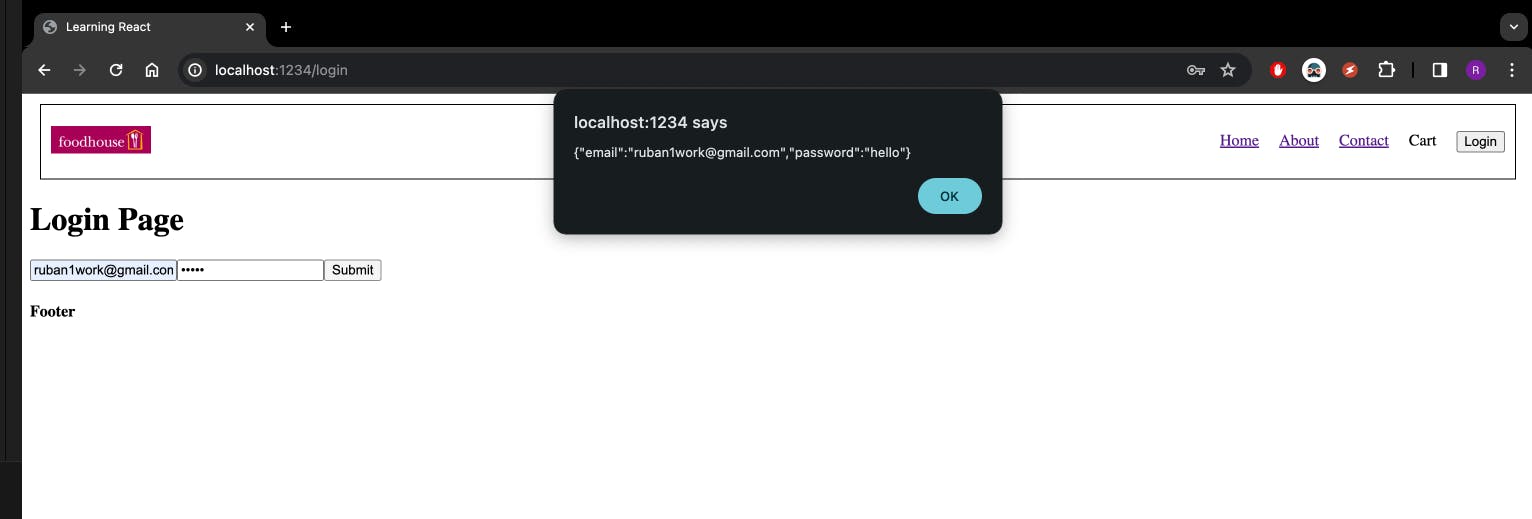
Once we enter the validated email and passwords into their respective fields and hit submit, we simulate an authentication mechanism using an alert box since we are not persisting any user data in backend with any database.
// Header.jsx
import { Link, useNavigate } from "react-router-dom";
import Logo from "../assets/img/foodhouse.jpg";

const Title = () => (
  <Link to="/">
    <img className="logo" src={Logo} alt="Food House Logo" />
  </Link>
);

/* <i class="fa-solid fa-cart-shopping"></i> */

const Header = ({ isLoggedin, setIsLoggedin }) => {
  const navigate = useNavigate();

  return (
    <div className="header">
      <Title />
      <div className="nav-items">
        <ul>
          <li>
            <Link to="/">Home</Link>
          </li>
          <li>
            <Link to="/about">About</Link>
          </li>
          <li>
            <Link to="/contact">Contact</Link>
          </li>
          <li>Cart</li>
          <li>
            {isLoggedin ? (
              <button onClick={() => setIsLoggedin(false)}>Logout</button>
            ) : (
              <button onClick={() => navigate("/login")}>Login</button>
            )}
          </li>
        </ul>
      </div>
    </div>
  );
};

export default Header;
Once we click on the Ok button in the alert box, we are routed to the homepage and if you observe carefully, you will see a logout button in the header because we are now logged in!

// Login.jsx
import React from "react";
import { useNavigate, useOutletContext } from "react-router-dom";
import { Formik, Form, Field, ErrorMessage } from "formik";

const Login = () => {
  const navigate = useNavigate();
  const [setIsLoggedin] = useOutletContext();

  function handleNavigate(values) {
    // Alert the input values of the form that we filled
    alert(values);
    // setTimeout for navigate from login page to home page
    setTimeout(function () {
      setIsLoggedin(true);
      navigate("/");
    }, 0);
  }

  return (
    <div>
      <h1>Login Page</h1>
      <Formik
        initialValues={{ email: "", password: "" }}
        validate={(values) => {
          const errors = {};
          if (!values.email) {
            errors.email = "Required";
          } else if (
            !/^[A-Z0-9._%+-]+@[A-Z0-9.-]+\.[A-Z]{2,}$/i.test(values.email)
          ) {
            errors.email = "Invalid email address";
          }
          if (!values.password) {
            errors.password = "Required";
          } else if (values.password.length < 5) {
            errors.password = "Password must be atleast 5 characters long";
          }
          return errors;
        }}
        onSubmit={(values) => {
          // call handleNavigate and pass input filed data
          handleNavigate(JSON.stringify(values));
        }}
      >
        {({ isSubmitting }) => (
          <Form>
            <Field type="email" name="email" placeholder="Email" />
            <ErrorMessage name="email" component="div" />
            <Field type="password" name="password" placeholder="Password" />
            <ErrorMessage name="password" component="div" />
            <button type="submit" disabled={isSubmitting}>
              Submit
            </button>
          </Form>
        )}
      </Formik>
    </div>
  );
};

export default Login;
Earlier our isLoggedIn state was defined in Header, but now we are simply navigating to our Login page when we hit the login button. Now, once our logic for login is executed we will need the setIsLoggedin method to change the value of state isLoggedIn on successful login, inside our Login component. Login and Header components are sibling components so we need to pass isLoggedIn and setIsLoggedin in both components wherever required from their parent component. In React, we can pass props using top-down approach i.e. from parent to child component. So in our case, AppLayout was the parent component and we had to define and pass isLoggedIn and setIsLoggedin as props into Login and Header components.
How do you create Nested Routes using react-router-dom configuration ?
We can create Nested Routes using react router configuration as follows: first call createBrowserRouter for routing different pages:
const router = createBrowserRouter([
   {
      path: "/", // show path for routing
      element: <Parent />, // show component for particular path
      errorElement: <Error />, // show error component for path is different
      children: [ // show children component for routing
         {
            path: "/path",
            element: <Child />
         }
      ],
   }
])
Now we can create a nested routing for /path using children again as follows:
const router = createBrowserRouter([
   {
      path: "/",
      element: <Parent />,
      errorElement: <Error />,
      children: [
         {
            path: "/path",
            element: <Child />,
            children: [ // nested routing for subchild
               {
                  path: "child",      // Don't use '/' because then react-router-dom will think it's the direct path
                  element: <SubChild />,
               }
            ],
         }
      ],
   }
])
createHashRouter, createMemoryRouter from React Router DOM
createHashRouter is useful if you are unable to configure your web server to direct all traffic to your React Router application. Instead of using normal URLs, it will use the hash (#) portion of the URL to manage the "application URL". Other than that, it is functionally the same as createBrowserRouter.
createMemoryRouter Instead of using the browsers history a memory router manages it's own history stack in memory. It's primarily useful for testing and component development tools like Storybook, but can also be used for running React Router in any non-browser environment.
What is the order of life cycle method calls in Class Based Components ?
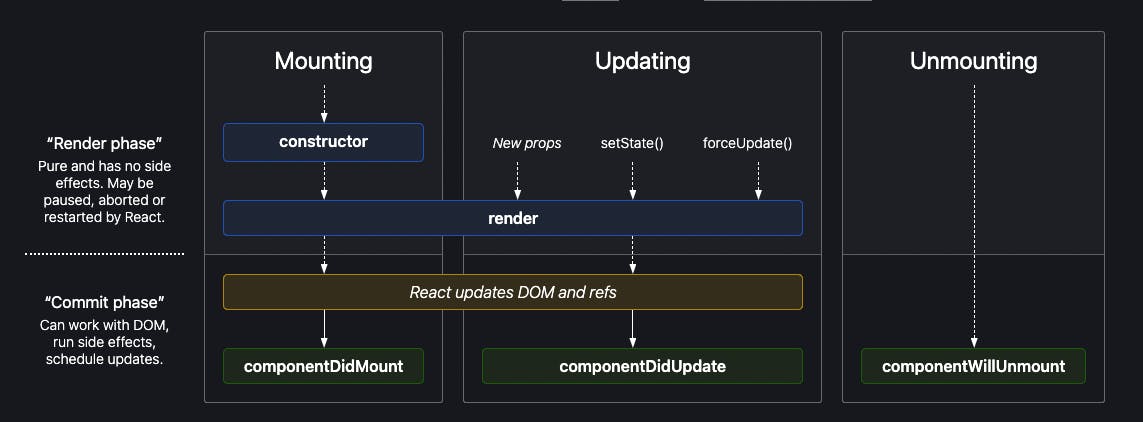
Following is the order of lifecycle methods calls in Class Based Components:
constructor()
render ()
componentDidMount()
componentDidUpdate()
componentWillUnmount()
For more reference React-Lifecycle-methods-Diagram
Why do we use componentDidMount?
The componentDidMount() method allows us to execute the React code when the component is already placed in the DOM (Document Object Model). This method is called while Mounting during the commit phase of the React Life-cycle i.e after the component is rendered. We can run any piece of react code to modify the components. For example: It's the best place to make API calls.
Why do we use componentDidUpdate?
componentDidUpdate() is invoked immediately after updating occurs. This method is not called for the initial render.
componentDidUpdate(prevProps, prevState, snapshot)
Use this as an opportunity to operate on the DOM when the component has been updated. This is also a good place to do network requests as long as you compare the current props to previous props (e.g. a network request may not be necessary if the props have not changed).
componentDidUpdate(prevProps) {
  // Typical usage (don't forget to compare props):
  if (this.props.userID !== prevProps.userID) {
    this.fetchData(this.props.userID);
  }
}
Why do we use componentWillUnmount?
componentWillUnmount() is useful for the cleanup of the application when we switch routes from one place to another. Since we are working with a SPA (Single Page Application) the component process always runs in the background even if we switch to another route. So it is required to stop those processes before leaving the page. If we revisit the same page, a new process starts that affects the browser performance. For example, in Repo class, during componentDidMount() a timer is set with an interval of every one second to print in console. When the component is unmounted (users moves to a different page), the timer will be running in the background, which we might not even realize and it causes huge performance issue. To avoid such situations the cleanup function can be done in componentWillUnmount, in this example clearInterval(timer) to clear the timer interval before unmounting Repo component.
Why do we use super(props) in constructor?
super(props) is used to inherit the properties and access of variables of the React parent class when we initialise our component. super() is used inside constructor of a class to derive the parent's all properties inside the class that extended it. If super() is not used, then Reference Error : Must call super constructor in derived classes before accessing 'this' or returning from derived constructor is thrown in the console. The main difference between super() and super(props) is the this.props is undefined in child's constructor in super() but this.props contains the passed props if super(props) is used.
Why can't we have the callback function of useEffect async?
useEffect expects it's callback function to return nothing or return a function (cleanup function that is called when the component is unmounted). If we make the callback function as async, it will return a promise and the promise will affect the clean-up function from being called.
Given below, is an example of returning a clean-up function from the useEffect hook:
import { useState, useEffect } from "react";

const Profile = ({ name }) => {
  const [count, setCount] = useState(0);
  useEffect(() => {
    console.log("useEffect");
    const timer = setInterval(() => {
      console.log("Hello from functional component profile");
    }, 1000);
    return () => {
      clearInterval(timer);
      console.log("useEffect return");
    };
  }, []);
  console.log("render");
  return (
    <>
      <h2>Profile Component</h2>
      <h3>Name: {name}</h3>
      <h3>Count: {count}</h3>
      <button onClick={() => setCount((c) => c + 1)}>Set</button>
      <button onClick={() => setCount(0)}>Reset</button>
    </>
  );
};

export default Profile;
That's all for now folks. See you in the next blog!